13 Ways to Boost Curb Appeal For Less Than $100

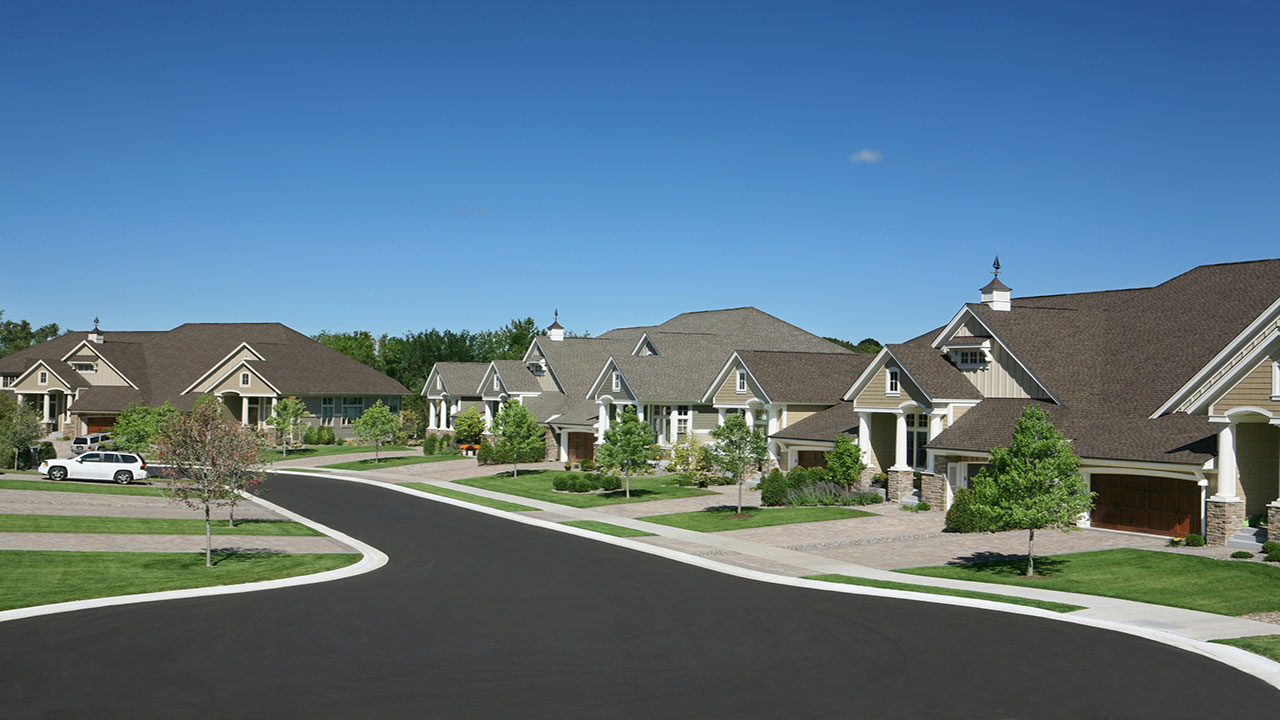
Your home’s curb appeal plays a key role in its perceived value. Whether you just want to improve the look of your home to appease your tastes or are looking to attract more buyers as a seller, it all starts with amazing curb appeal.

But boosting the look of your home’s exterior doesn’t have to put a huge dent in your bank account. There are plenty of little projects you can take on to improve your curb appeal for less than $100, including the following.

1. Buy a New Doormat

That “Welcome” doormat at the foot of your front door might not be so welcoming anymore if it’s all ratty and has seen better days. A quick and cheap way to make a change to your home’s entrance is to replace the mat with something new. There are tons available out there for far less than $100, though you can always splurge if your pocketbook allows for it.

2. Add Bark Mulch

It’s amazing what a difference a little bark mulch can make in the look and feel of an outdoor garden. New mulch can instantly spruce up your flower beds and shrubs. Not only does it significantly improve the aesthetics of your outdoor landscaping, but it can also prevent your garden from becoming overwhelmed by weeds. Replacing your mulch is a cheap endeavor and can do wonders for the greenery in your yard.

3. Cut the Grass and Trim the Hedges

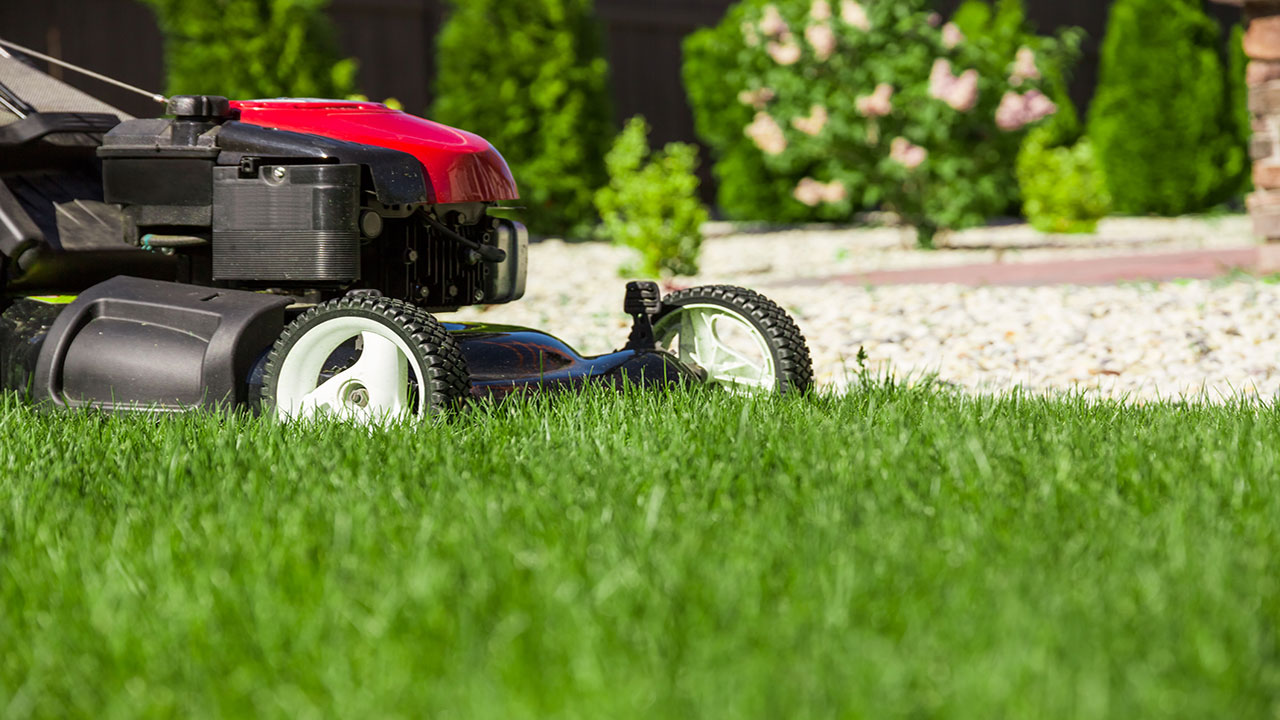
This might sound obvious, but it’s worth mentioning. You could spend hundreds or even thousands of dollars on a professionally-designed landscaping job, but it will be all for naught if you don’t keep up with the lawn mowing and hedge trimming. Overgrown grass and hedges will take away from the appeal of your home’s exterior. Sure, this will require regular maintenance on your part, but the good news is that it won’t cost you a cent.

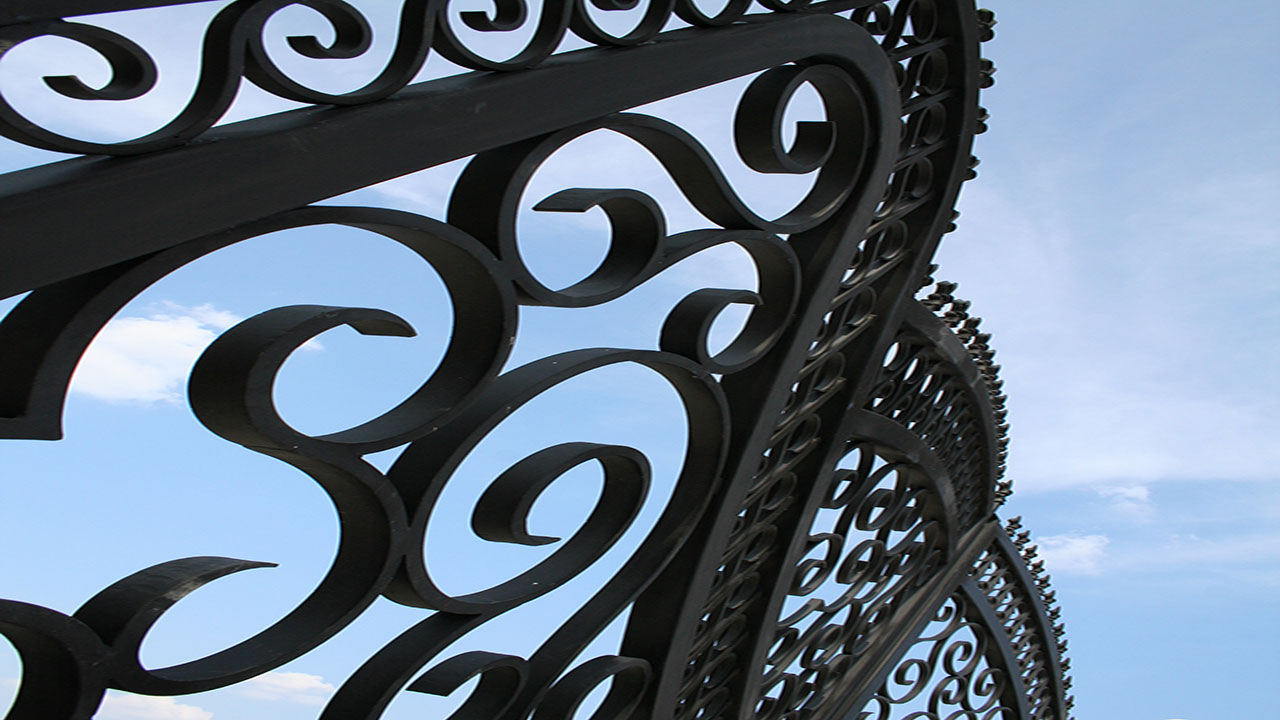
4. Update Your Front Door

If your front door is scaring people away from knocking, it might be time for a change. While completely replacing the door would be ideal, you might find it hard to find something for less than $100. Instead, all you might need to do is reface the front door with a little paint. Just be sure to sand it down if necessary before painting in order to ensure a smooth and seamless look when you’re done.

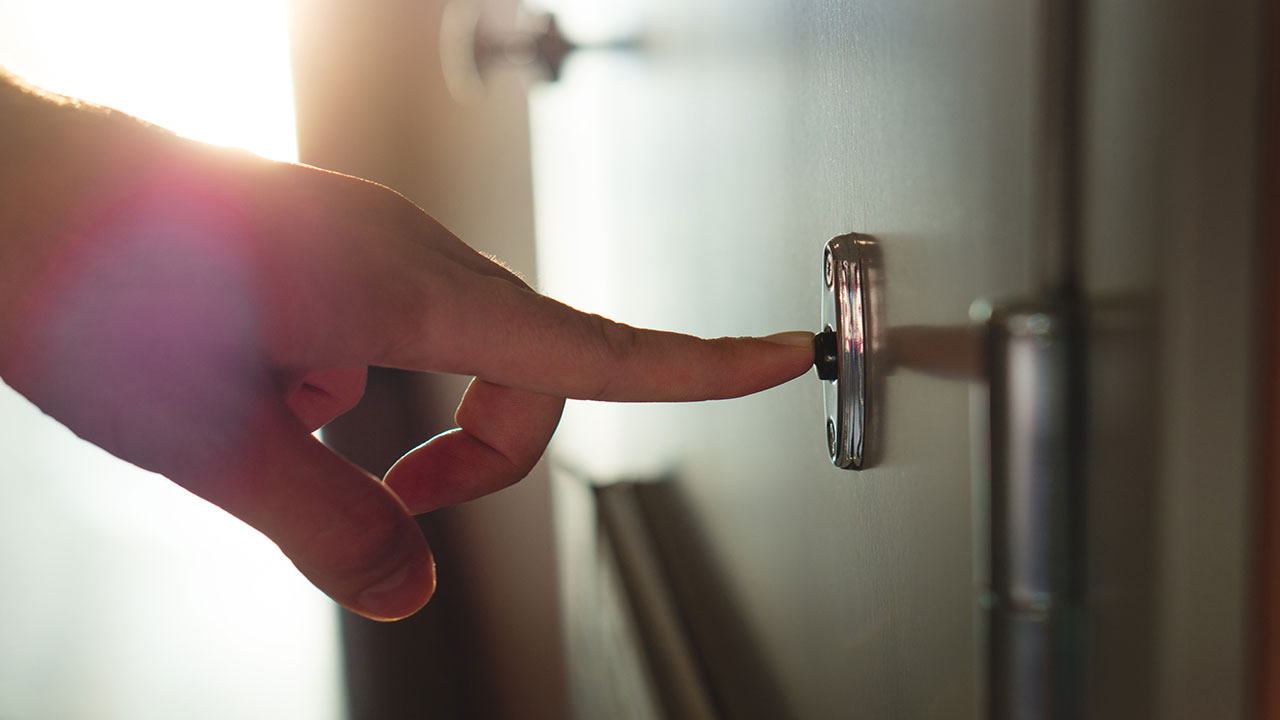
5. Replace the Door Knob and Lock

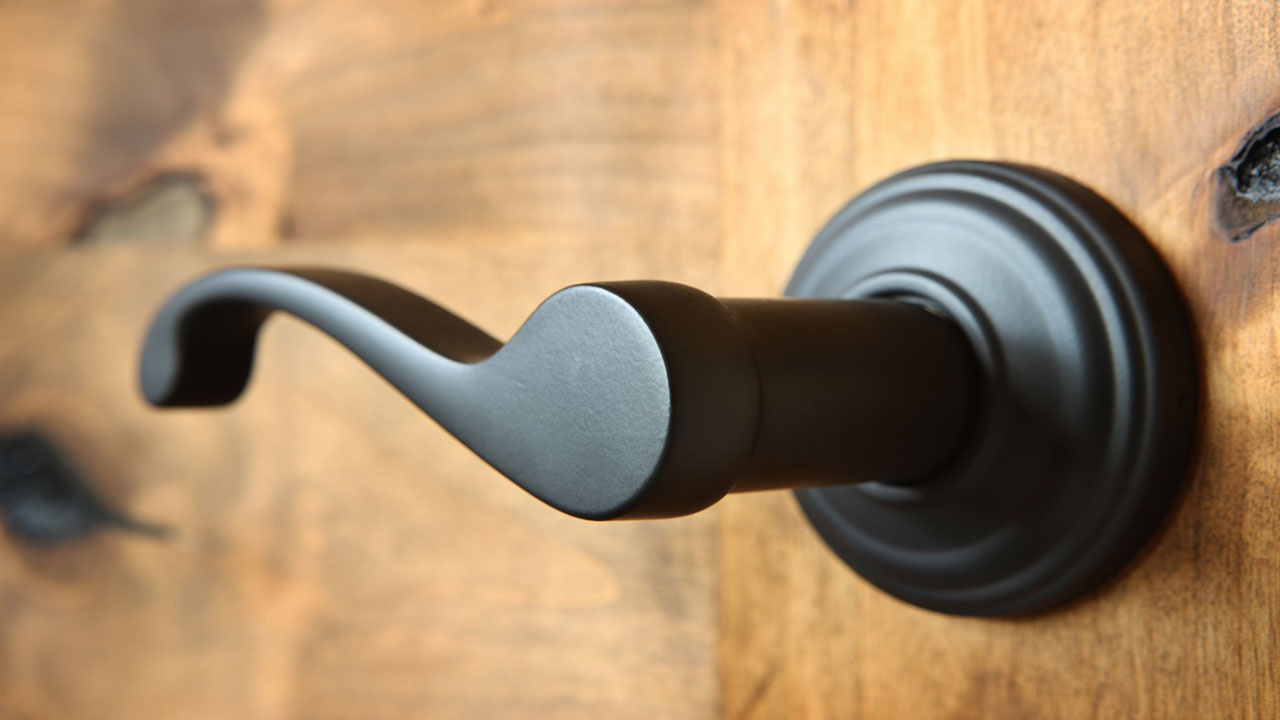
While you’re refacing the front door, consider changing the knob or lock. This hardware can easily become worn over time, so sometimes replacing them can make the door – and your home – look more up-to-date.

6. Add Planters Beside Your Front Door

Flanking your front door with a couple of planters can give your entrance an instant update with a splash of color without breaking the bank.

7. Plant Some Flowers

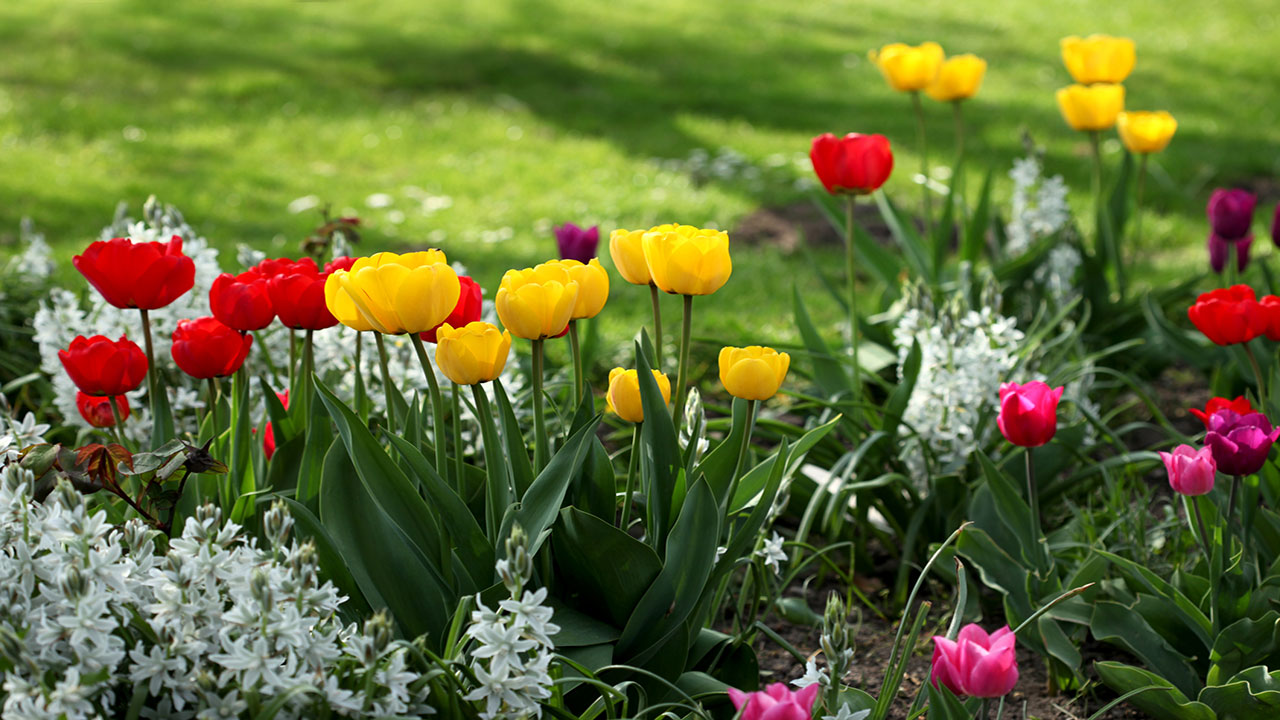
If your landscaping is lacking in color, consider planting a few flowers throughout your front lawn. Just be sure to come up with a simple design first so the final look is cohesive.

8. Install a New Porch Light

If your porch doesn’t have a light, now’s the time to get one. A little light at the front entrance is not only functional, but it adds to the aesthetics of your home overall.

If you have a porch light but it’s showing major signs of wear and tear, swap it for a new model. While there are plenty of expensive and extravagant models out there, you can also find more affordable options that will do just as good a job at improving the curb appeal of your home.

9. Replace Your House Numbers

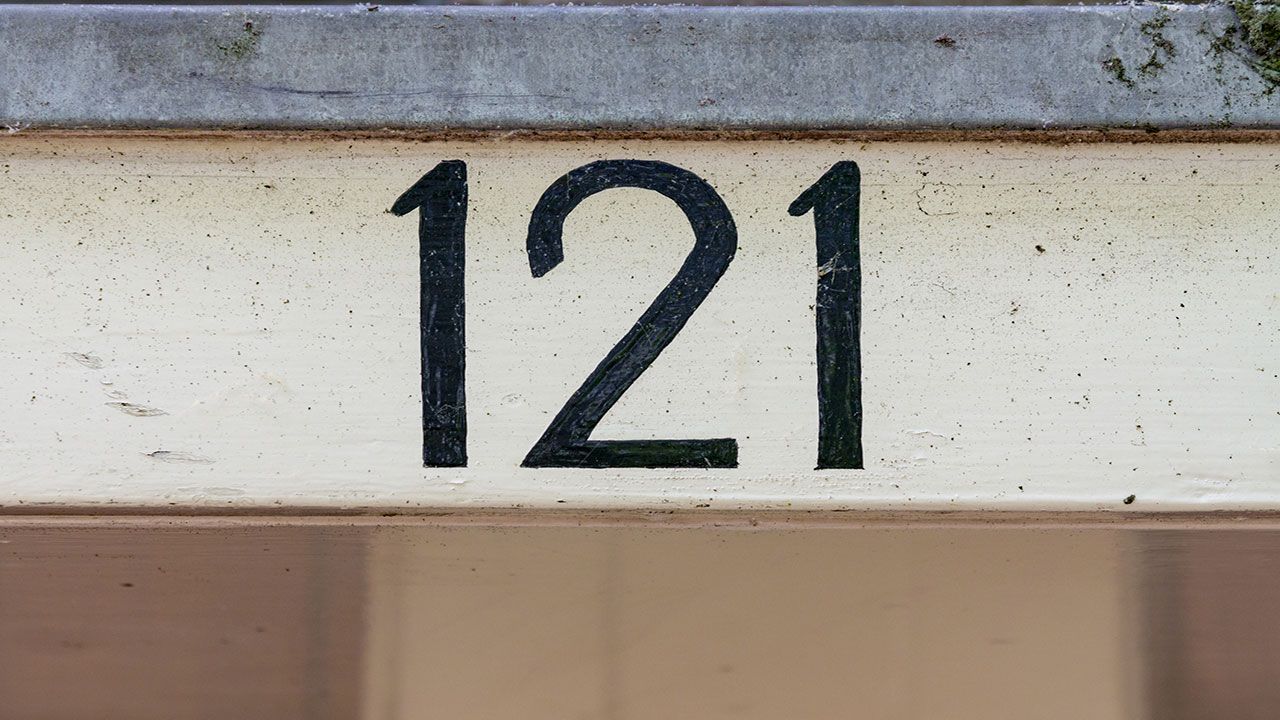
You might not even think about your house numbers, but they’re just another piece of the puzzle to the overall look of your home’s exterior. You can either repaint the numbers you already have or replace them altogether with something a little more modern.

10. Reface Your Mailbox

Your home’s mailbox is not purely functional, but it’s also a decorative element of your home’s curb appeal. If you can’t find a replacement for less than $100, you can always repaint it to give it a fresh new look at a fraction of the price.

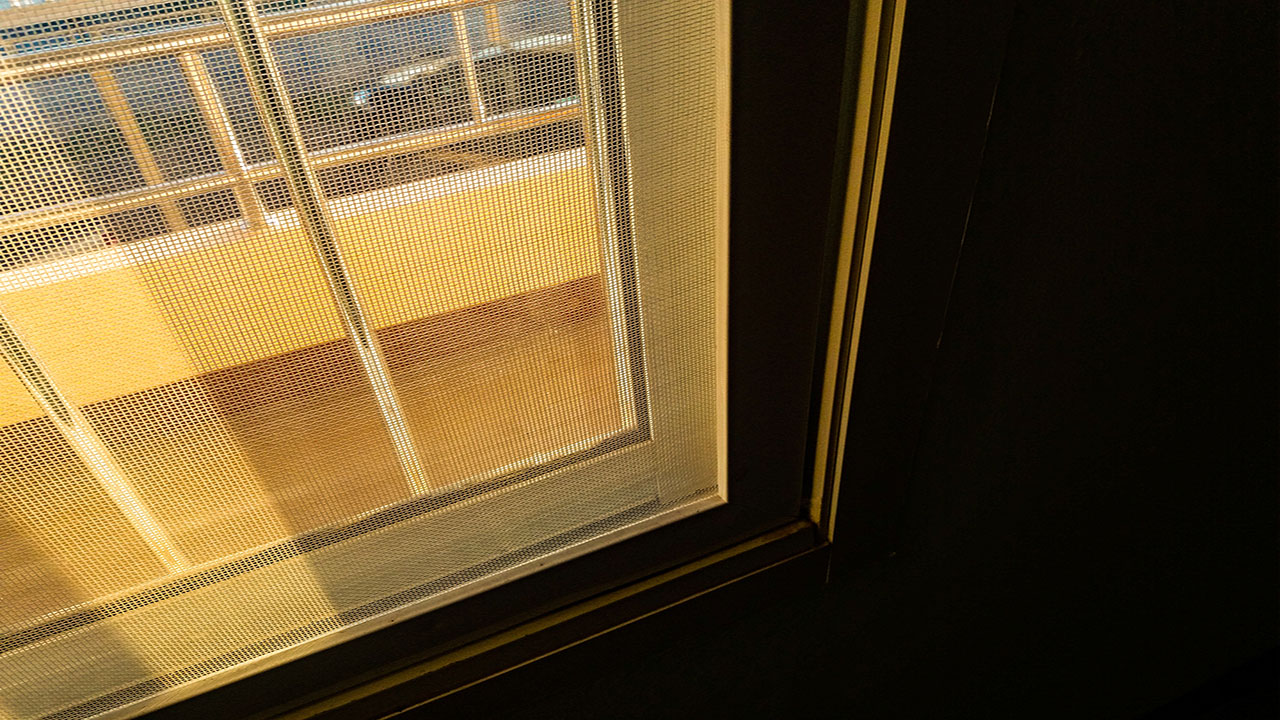
11. Clean Your Windows

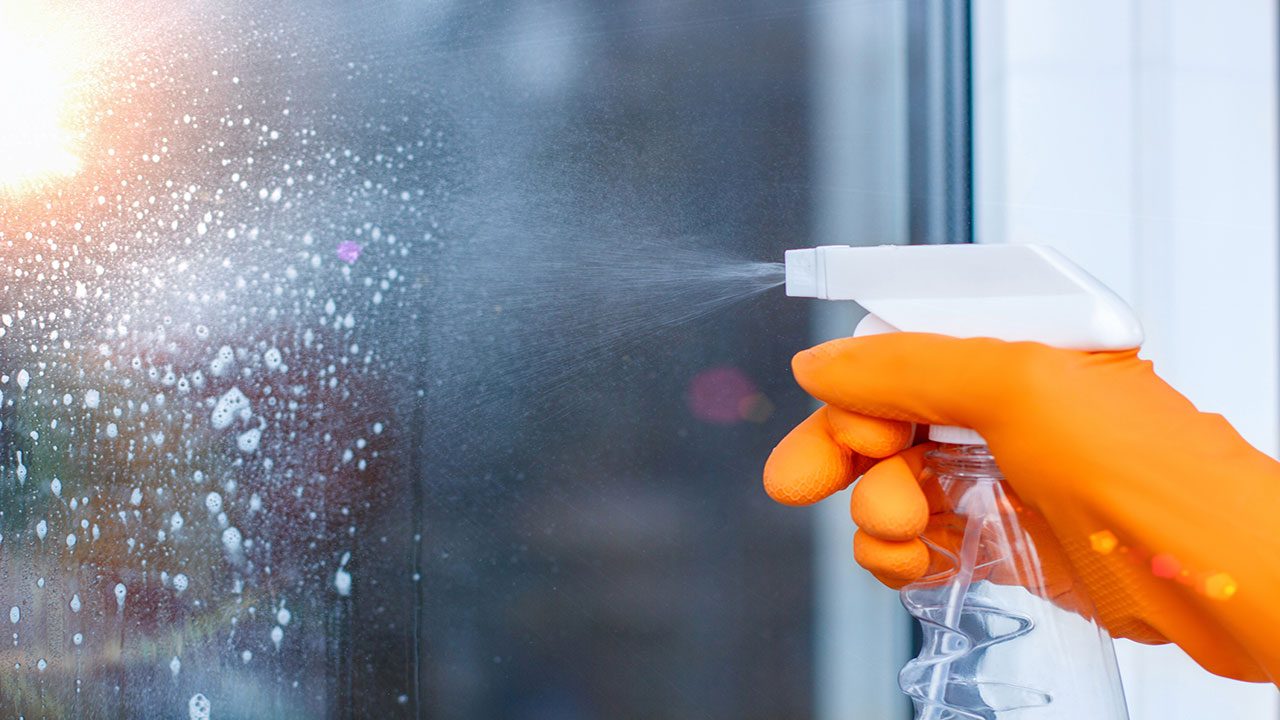
It doesn’t take long for your home’s windows to get covered in dirt, dust, debris, and dead bugs. Give your windows a thorough wash to get them gleaming and shining. Not only will this help the way your home looks on the outside, it will also allow a lot more natural light in from the inside too.

12. Paint Your Window Shutters

If your windows are surrounded by shutters, consider giving them a new paint job. It’s a cheap and quick way to update the look of your home’s exterior.

13. Clear Out Your Front Deck

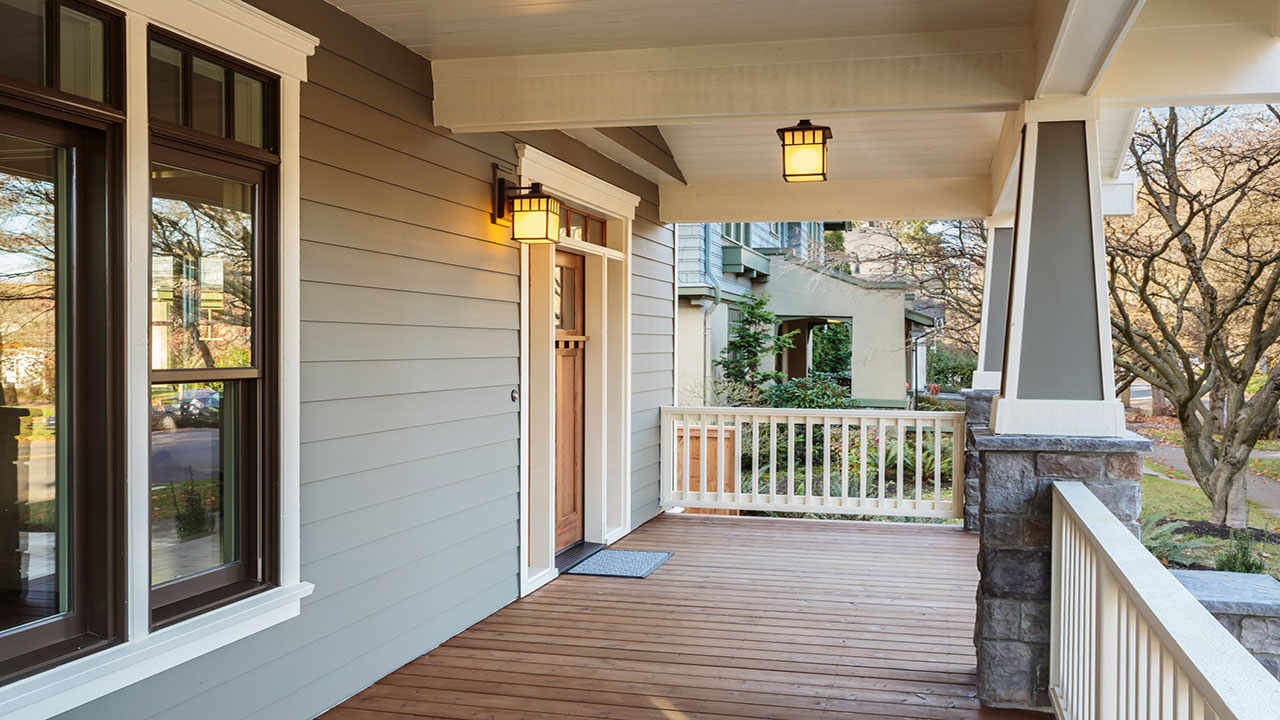
All those shoes, stacked-up patio furniture, and debris that may have piled up in the corner need to be cleaned out. Keep only what you need to create a comfortable and stylish outdoor space in order to improve your home’s curb appeal.

The Bottom Line

Curb appeal speaks volumes, especially when you’re trying to sell for top dollar in a reasonable amount of time. But you don’t have to spend the big bucks to improve your home’s curb appeal. Try any one of these projects to give your home’s exterior a boost without making a hole in your pocket.

INFOGRAPHIC: Your Home Inspection Checklist

10 Things You Shouldn’t Forget to Clean When Spring Cleaning

It’s that time of year. Many homeowners dread spring cleaning, but it’s a necessary task when you consider how many things typically get overlooked as part of every-day cleaning. You might vacuum, wash dishes, and do laundry regularly, but there are plenty of other tasks that probably don’t get done.

Here are few things that you should include in your spring cleaning checklist.

1. Ceiling Fans

You might not be able to see it, but there is probably a thick layer of dust on top of the blades of your ceiling fans. Now, imagine turning them on and allowing all that collected dust to make its way into the air that you breathe in.

For this reason, it’s essential that your ceiling fans are a part of your spring cleaning session. You can use a vacuum cleaner with an extended nozzle, a duster, or even a damp cloth to get rid of all that piled-up dust.

2. Underneath Large Appliances

You might vacuum your floors on a regular basis, but over time, a lot of dust and debris can make their way underneath your large appliances. Be sure to pull out the refrigerator, oven, washer, and dryer and clean the areas that have been covered by these appliances throughout the year.

3. Utensil Drawers

Once a year, you may want to pull out your utensil drawers, take everything out, and clean the inside of them thoroughly, including the back, sides, and corners. Make sure you let them dry completely before you replace all of your utensils.

4. Coffee Makers

Not only should the actual coffee pot be cleaned out, but so should the filter. Be sure to take your coffee machine apart every so often to give it a good cleaning in warm water mixed with white vinegar.

5. Oven

It’s easy for your oven to collect a layer of hard-to-remove grime at the base or along the sides of the interior. All that grease spilling over from your casseroles or the dripped cheese from those oven-baked pizzas can build up a layer of stubborn, caked-on grease that will need to be removed.

If you’ve got a self-cleaning oven, your job just got that much easier. But if you don’t, you’ll need a few hours to allow oven-cleaning products to lift all that built-up grime, or else you’ll be using a lot of elbow grease to scrape it off that hard way.

6. Pillows

When was the last time you tossed your pillows into the washing machine? Pillow cases can only do so much to protect the pillows underneath, which are susceptible to being infested with skin oils, dead skin cells, dust, and even spiders, to name a few.

In fact, you shouldn’t even wait until spring cleaning time to wash your pillows. Instead, they should probably be washed once every month or two.

7. Window Screens

Window screens are not only meant to help keep critters out as you allow fresh air indoors, they’re also meant to help trap dust and debris. After a while, window screens can become inundated with particles that can limit their effectiveness. Not only that, window screens that are filled with dirt just look disgusting.

You may be able to wash out all that dirt by simply spraying them with a hose. For more stubborn debris, you will have to remove the screens from their frames and soak them in warm, soapy water before spraying them down and replacing them.

8. Drapery

It’s easy for all your window treatments to absorb odors in the home. Not only that, they can also get dusty and dirty over time. In addition to being unsightly, this can also be a potential health issue for anyone in the home with allergies or asthma.

Depending on the fabric and size of your drapes, you may be able to toss them into the washer. Otherwise, you may want to have them dry cleaned to make sure any delicate materials are handled with care.

9. Shower Curtains

Shower curtains get wet on a daily basis, and unless you thoroughly dry them after every shower, they’ll typically stay wet for hours. This is the ideal breeding ground for mold and mildew. Again, this is an item that should be cleaned much more frequently than once a year at spring cleaning time.

You can clean them by adding them to the washing machine along with your towels. Just make sure to let them drip dry rather than putting them in the dryer.

10. Telephones

More and more homeowners are opting to ditch their home lines in favor of their cell phones. A land line is just another added expense that many homeowners no longer require when they’ve got their cell phones to communicate with the outside world. But if you’re one of the minority homeowners who still has a traditional telephone hooked up to a land line, you may want to give those receivers a good cleaning.

So many hands and mouths make contact with telephone receivers, so imagine how much illness-causing bacteria or viruses may be on these things! Don’t forget to disinfect all the phones in your home, and while you’re at it, clean your smartphones too.

Final Thoughts

Spring cleaning might not be fun, but it’s got to be done. And to make the most of this labor-intensive job, make sure you’ve got everything covered so you can enjoy a thoroughly clean home throughout the remaining months of the year.

What Types of Liens Can Cloud the Title on My Property?

Real estate transactions aren’t always free of unpleasant surprises. Sometimes a home inspection will uncover an unknown issue or the buyer won’t be able to secure financing despite being pre-approved.

But there’s another potentially unexpected issue that can arise after an offer has been accepted: property liens.

Title searches are often conducted as part of a real estate transaction in order to ensure that title is free and clear and that the owner has the legal right to sell the property. But sometimes title searches come back with the news that there’s a lien on a property. The problem with liens is that they can prevent a home from being sold until they have been dealt with appropriately.

Real estate deals can’t close until the lien has been resolved and removed from the property. Until then, the deal will remain idle.

Liens are actually more common than many buyers and sellers may think. The good news is that liens can be released from a property if dealt with appropriately, allowing a real estate transaction to eventually close.

Here are the more common types of liens that are sometimes found on title to a property.

Property Tax Liens

Unfortunately, property taxes are quite common and are the more frequently found lien types on property titles. If a property tax lien is found on title, that lien will take precedence over any others.

If a homeowner owes property taxes that are not yet paid, a lien can be placed on the house. These types of liens can be serious if they are left unattended to because the government actually has the power to recoup what is owed by selling off the home.

Mortgage Liens

Lenders have a stake in a home that they provide a mortgage to help finance. As such, they are able to repossess the property if the borrower defaults on the mortgage. Using a home as collateral for a mortgage is what helps balance out the risk associated with providing large loans.

When borrowers take out a mortgage, they are voluntarily allowing a lien to be placed on the home. In the case of a mortgage lien, the homeowner agrees that the lender has a stake in the home and will place a lien on the property until the home loan amount is fully repaid.

Judgment Liens

Homeowners who are taken to court and successfully sued may have a judgment lien placed on their property. If the homeowner is unable or unwilling to pay the judgment amount, the winning party may put a judgment lien on the homeowner’s property. In this way, the winning party can be assured that they will be paid the money that they successfully sued for.

Contractor Liens

If a homeowner hires a contractor to perform improvements on their property and does not fulfill payment for the work done, a lien may be placed on the property. Contractor liens are more common with foreclosures because homeowners are no longer able to make their mortgage payments, and are therefore unable to repay their contractor bills either.

Even subcontractors who have not been paid by contractors to perform specific work can place contractor liens on a property. That said, subcontractors must first exhaust all efforts to get paid by the contractor before a lien is placed a home.

Child Support Liens

Guardians who are legally required to pay child support can find themselves with a child support lien on their home if they haven’t been making their regular contributions. Until the child support is paid back or a lien sale occurs, the lien will remain on the property.

IRS Tax Liens

Any unpaid federal taxes can lead to an IRS tax lien being placed on a property. If the homeowner is insolvent and unable to pay their taxes, the IRS may place a lien on their home.

The Bottom Line

If you’re the seller in a real estate transaction, you may want to have your titled searched on your own to verify whether or not liens exist on your property if you’re unaware of any. It would be rather unpleasant to discover that a lien exists on title, which can derail the deal. If you’re the buyer, you’ll certainly want to have a title search conducted before you agree to purchase a home.

While there is a cost associated with this search, it’s well worth it if there are title issues that will need to be ironed out. In either case, liens on title do happen, and if they are discovered, they’ll need to be sorted out before a real estate transaction can continue.

Can a Load-Bearing Wall Be Removed When Renovating?

Open concept floor plans have become incredibly popular among homeowners and buyers. As such, many homeowners have been opting to knock out existing walls in their homes in order to swap their traditional segmented layout for something more open and free-flowing.

You might want to knock down a wall in your home to open up the kitchen to the living room, or to combine two bedrooms into one larger space, for instance. But before taking a sledgehammer to a wall, it’s imperative to make sure that it’s not a load-bearing one.

There are certain walls in a home that are actually carrying a great deal of weight, so arbitrarily knocking one down can be disastrous if the necessary precautions aren’t taken to distinguish between a load-bearing wall versus a cosmetic partition.

The question is, can a load-bearing wall be torn down? If so, how would this be done?

Yes, load-bearing walls can be removed, but not without invasive measures. These types of walls are integral to the overall structure of a home. As such, removing them without the proper precautions can compromise the structural integrity of the home.

That said, it’s typically not recommended to remove these walls. If the necessary measures aren’t taken to replace them with something that will adequately support the weight of the home and distribute this weight to the ground, any components above the wall will not be properly supported.

This can lead to cracking and settling in the walls above or in ceilings and floors close to where the load-bearing wall was. It can even cause an upper-level floor to eventually cave in over time.

How to Identify a Load-Bearing Wall

Before a wall is slated to be removed, you’ll want to determine whether it’s a load-bearing wall or not. To do that, you’ll want to look at the lowest point of the home, such as the crawl space. If the space is unfinished, you’ll have an easier time located the beams that are holding up the weight of the structure and transferring it to the ground.

Finding these beams will give you a good idea of where the home’s weight is being supported. Any walls directly above these beams are likely load-bearing. These are typically located along the length of the home or near its center.

You can also check out the floor joists. If they are visible (again, in an unfinished space), pay attention to the direction they go in. Many times, load-bearing walls are placed perpendicular to floor joists. This is especially true if there’s a wall located right on top of another, though this isn’t always the case.

If the beams have been covered in drywall, it can be much more difficult to determine which walls are load-bearing. Unless you are a professional, this task is best left to the experts. An experienced contractor or engineer would be better qualified to identify which walls are carrying the weight of the structure versus those that are not.

Removing Load-Bearing Walls

Once a load-bearing wall has been identified and scheduled to be removed, the proper permits will have to be obtained first. Considering the importance of such a component of a home, it should come as no surprise that the local building permit office will want to know about any work that is being done to make sure it’s conducted safely and results in a structurally-sound home.

When a load-bearing wall is removed, it will need to be replaced with something else that will just as effectively carry the weight of the structure and distribute this weight to the ground. Usually, load-bearing walls that are removed are replaced with horizontal beams of adequate size on their own, or with one or more vertical posts upon which the horizontal beam rests.

While vertical posts (or columns) might not necessarily provide that completely open concept look, they can still offer more support and therefore much more strength to the horizontal beam.

The Bottom Line

While load-bearing walls may be able to be removed – either partially or completely – it’s usually best to leave them intact. If you do choose to have one removed from your home, be sure to employ the professionals in this realm. Removing a load-bearing wall is not an easy job, and can even be potentially dangerous if not done properly. That said, it can provide you with that highly-coveted open concept floor plan that you desire if done right.

INFOGRAPHIC: First-Time Homebuyer Stats

JUST SOLD! 103% of Asking Price & Just 4 Days on the Market!

27 Weatherly Dr, Clayton, CA 94517

$750,000

4 beds 2 baths 1,895 sqft

Welcoming and inviting home in a great location, situated on a large corner lot. Wonderful open floor plan with a good size living room and dining area. The kitchen, breakfast nook and family room overlook the pleasant back yard with a patio, deck & sparkling pool! Also, there is a wood burning fireplace in the family room for those cold winter nights. The spacious master suite includes a ceiling fan with a light & a sliding glass door that leads out to the back yard. Each of the secondary bedrooms plus the family room have ceiling fans with lights. There is ample storage & many special features that enhance this special home as well. The large back yard features mature trees, shrubs & blooming plants that even still allow for low maintenance. RV access, with the potential of being on both sides of the property. If so desired, updating this home provides additional potential!! Shopping & many other amenities are nearby, yet the quaint atmosphere of “Old” downtown Clayton is close by.

VIEW FULL LISTING

Pros and Cons of Buying in a Gated Community

The thought of a gated community might conjure up visions of ritzy neighborhoods in Hollywood where all the hottest celebrities tend to live. Behind those gates are thought to be incredible homes on amazing lots with fabulous amenities at the fingertips of all who dwell there.

A gated community is basically a neighborhood of homes that can only be accessed by residents and their invited guests. They usually come with a set of amenities that owners and their visitors are allowed to use.

Sure, gated communities definitely come with their benefits that many buyers love. But these same perks can be viewed as drawbacks for other buyers.

Before you decide whether or not a gated community is right for you, consider the following pros and cons first.

PROS

There are obvious perks to living in a gated community, which is why they are quite popular among many buyers. Here are some of the benefits of living in these types of neighborhoods.

Less Traffic and More Privacy

If you’re the type to enjoy privacy when you’re at home, then a gated community might be an attractive option. Most people who meander through your neighborhood will be people that actually live there. People who visit or are there for deliveries will have to check in at the gate before they’re allowed in.

You’re not going to get heavy traffic in these types of communities. Even people soliciting or trying to sell products or services door-to-door are rarely seen in gated communities, which is typically considered a good thing.

Private Amenities

One of the great things about gated communities are the amenities that typically come with them. Different gated communities feature a different set of amenities, but the average community tends to come with perks such as a private park, playground for children, swimming pool, jogging and biking trails, tennis courts, and fitness centers. Some may even have their own golf course, clubhouse, or off-leash dog park.

Having these amenities at such a close distance that are only to be used by owners is a nice perk to enjoy.

Property Values Are Upheld

Gated communities are run by homeowner’s associations that establish a set of rules which all owners within the neighborhood must abide by. While the thought of having rules to follow might not sound fun, they are designed to maintain the value of the community and the homes within them.

Considering how valuable your home is, you’ll appreciate knowing that this investment will be protected by regulations set forth by your HOA.

Maintained Community

The HOA fees that you pay cover several different things, including the maintenance of common areas. The roads, sidewalks, curbs, and amenities in a gated community are maintained by professionals. As such, you’ll have the benefit of living in a neighborhood that’s neat and clean without having to put in any elbow grease yourself (with the exception of your own yard).

More Security

Many buyers who consider buying into a gated community are attracted to the heightened level of security that is offered with this type of setting. Anybody who wants to get in will need to get through the security guard first.

CONS

While there are certainly a number of advantages to living in a gated community, this type of living arrangement is not without its drawbacks.

Homeowner’s Association Fees (HOAs)

We’ve already mentioned the fact that gated communities require that all owners pay HOA fees every month that cover all the costs associated with the maintenance of the neighborhood. But as nice as it is to have a well-maintained community, having to pay regular fees that you otherwise wouldn’t have to pay in a freehold property isn’t fun.

Less Flexibility

There are plenty of rules that everyone needs to follow when it comes to gated communities, and that includes the way homes and properties can be used and decorated. Many things will need approval from the homeowner’s association before you’re allowed to implement them.

Whether it’s painting your garage door a specific color, parking your oversized truck on your driveway, or even placing a basketball net on your front lawn, things such as these could be met with rejection if they’re not approved by the HOA.

If you’re the type of homeowner who doesn’t like the idea of having to ask permission to make subtle changes to the aesthetics of your home or to use the property as you see fit, a gated community might not be ideal.

Visitors and Gatherings Are More Difficult

The 24/7 security that makes gated communities safer can also be seen as a downfall when you want to have visitors over or host a party. If it’s a particularly busy time of the day or week, it could take forever for guests to finally arrive.

Owners are supposed to provide their guests with gate passes in advance of any event that they might be hosting. If your guests left theirs at home or you simply forgot to hand out passes, you’ll be wasting a lot of time on the phone with the security guard confirming the invitation of all your guests. While this might not be much of an issue for the odd visitor, it could be a real mess if you’re having large gatherings at your home.

The Bottom Line

Does a gated community sound like the type of place you’d like to call home? Or are all the fees and restrictions enough to make you steer clear of this type of purchase? The best way to find out for certain is to work with a seasoned real estate professional who will be able to get you up to speed on all the details of gated communities to help you determine if this is the right type of neighborhood to buy into.

How to Handle the Final Walk-Through Inspection Before You Close

The final walk-through of a home is your last chance to make sure all is as it should be before you close on the deal. During this crucial visit, you’ll have the opportunity to see if anything has changed from the last time you visited.

You’ll be able to make sure that all aspects of the home are in the same condition as when you agreed to purchase it. You’ll also be able to see if all fixtures or negotiated items are still on the premises and weren’t removed right before closing.

Considering how important his visit is, it’s important that you make the most of it. Here are some tips for conducting the final walk-through of the home you’ve agreed to purchase.

Schedule the Walk-Through the Day before Closing

The closer to closing you can do the final walk-through, the better. It only takes a short amount of time for something to happen, so closing the window of time between this visit and closing will minimize the chances of something going awry.

That said, you also don’t want to do it on the same day as closing. This will give you very little time to address any problems if issues are discovered.

These visits don’t take long to do – no more than 30 to 60 minutes should suffice. But once you close on the home, the sellers are no longer on the hook. As such, you absolutely need to address any issues that may come up, and leaving less time for such issues to occur will decrease the odds of any unpleasant surprises when you get the keys to your new home.

Take Your Time

While a walk-through shouldn’t take much more than an hour, that doesn’t mean you should rush it. Your real estate agent can book off a few hours to give you plenty of time to scope out the property in great detail to make sure no stone is left unturned.

Have a List of Components to Scope Out

Going into the final walk-through knowing exactly what to look for will help you make the most of your time spent on this important visit. It’s essential that you know what to look for, and you’ll be more likely to scope everything out if you go in armed with a checklist.

During your final walk-through, the following should be on your list:

Have all negotiated repairs been done? – If the seller agreed to make certain repairs before vacating the home, make sure they’ve been done. One of the biggest issues that buyers face at closing is the failure of sellers to complete their agreed-upon repairs. If you notice that something hasn’t been repaired, address this issue quickly before everyone signs on the dotted line.

Is the home is totally empty? – Unless you specifically agreed to have the seller leave certain items behind – such as appliances or furniture – everything should be gone. If the seller leaves anything behind, you’ll be the one to have to haul it out, which could cost you time and money.

Is any included personal property missing? – Many real estate deals include certain pieces of personal property that sellers leave behind as negotiated with buyers. All such personal property should be specified in the contract so there is no confusion about what is to be left behind. During your walk-through, make sure that all personal property that the seller agreed to leave behind is still there.

Are the appliances and systems working? – The fridge, stove, and air conditioner may have been working during your last visit, but are they still operational? Make sure to turn all appliances on and off to see how they work before you leave. The fridge should be cold, the stove should turn hot when turned on, the dishwasher should run, the washing machine and dryer should work, and the air conditioner should blow out cold air. If you notice that something’s not working right, bring this issue up right away to avoid any further delay in closing.

Are the walls scuffed up? – When you first visited the home, it was likely furnished and decorated. All that furniture and wall art may have been covering up something that you may not have been able to see. Once the seller moves all their belongings out, you’ll be able to see any flaws in the flooring or walls. Any severe holes in the drywall from TV mounts and artwork should be repaired before the seller moves out. 

Is the landscaping unkempt? – Real estate contracts should include a pre-closing inspection contingency whereby the seller agrees to keep the landscaping maintained until closing. Unfortunately, some sellers may leave their home having left the lawn and landscaping unattended for weeks before closing. This leaves buyers in a position to do a lot more work before they move in than they had intended.

Are the windows and doors in good shape? – You don’t want to visit the home one last time only to find out that one of the windows is severely cracked or the door lock is broken. Be sure to scope out all windows and doors to make sure they’re in good condition.

Address Issues Immediately

With closing just around the corner, there’s no time to waste if there are any issues that need to be addressed. If you notice any potential problems during the walk-through, make sure to take action right away.

Some issues can be dealt with right away, while others will take time to be rectified. Fixing a faulty HVAC system, for instance, could take some time to fix, in which case it may be necessary to delay closing until the problems have been rectified. If the sellers refuse to uphold their end of the bargain, you have the option to take them to court. However, it’s always best to come up with a resolution without taking such drastic measures in order to ensure closing actually takes place.

The Bottom Line

The final walk-through is certainly a crucial part of the closing process, so you want to make sure you make the best of it. Ideally, everything about the property will be just as it was the last time you visited, but sometimes disparities may occur. The purpose of final walk-throughs is to identify any issues, giving buyers the opportunity to find out about them and deal with them appropriately before the deal is sealed.

How Long Does the Closing Process Take on a Home Sale?

Whether you’re on the buying or selling end of a real estate deal, you probably have a specific date in mind for when you’d like the deal to close. But generally speaking, closing shouldn’t be too quick nor too long. A closing date that’s too soon could make it very difficult for the buyer to secure financing in time, while an extended escrow time frame can increase carrying costs for the seller.

The question is, how long does it take to close on a real estate deal?

What Needs to Happen Before Closing?

Depending on your exact location, the average length of time between offer acceptance and final closing date will range. Not only that, but the number of professionals and the types of processes involved in closing can also vary. Such differences can play a role in how long buyers and sellers can expect escrow to take before closing.

That said, there are certain factors that must be met in order for closing to take place, including the following:

  • All terms of the purchase agreement are satisfied
  • Earnest money is deposited
  • Contingencies are fulfilled or waived
  • Final walk-through is conducted
  • The buyer’s funds from the lender are deposited appropriately
  • Lender’s appraisal is conducted and approved
  • Lender’s mortgage approval is signed
  • All mortgage documents are signed by the buyer
  • The deed is deposited by the seller

Only when all associated terms of the agreement have been fulfilled can closing take place. Unfortunately, it’s not uncommon for delays in escrow to happen. There are several different reasons why closing is either pushed out or fails to occur at all, such as the following:

  • Delays from the mortgage underwriter
  • Stringent mortgage guidelines
  • Appraisal comes in low
  • Missing documentation
  • Incomplete mortgage application
  • Buyer takes out additional credit
  • Buyer makes a change in employment or income
  • Errors are found on the buyer’s credit report
  • Liens are discovered on title
  • Loan commitment expired
  • Buyer is unsatisfied with the home inspection
  • Agreed-upon repairs are not made by the seller

This list is certainly not exhaustive. There are plenty of little nuances that can come into play that may cause a delay in closing. That’s why it’s so important for all parties involved – including the buyer and seller – to do what’s necessary to move the deal along and not make any moves that could throw a wrench in the deal.

How Long Does Closing Typically Take?

If all ducks are in a row and both buyer and seller have done their due diligence, there should be no reason for any delays in closing. That said, the factor that tends to be the most involved and time-consuming throughout escrow is the mortgage process. According to Fannie Mae, the average closing time for mortgages is about 45 days.

The Bottom Line

The exact amount of time that it takes to close on a real estate deal is influenced by so many different factors. Every entity involved in the transaction has their own set of responsibilities, and each plays a key role in how long it takes for escrow to close.

Some factors are certainly within your control, while others are not. All you can do is make sure that you’ve kept up your end of the deal and work with professionals who have a good track record of keeping up theirs as well.