7 Things That Sellers Should Leave Behind When They Sell

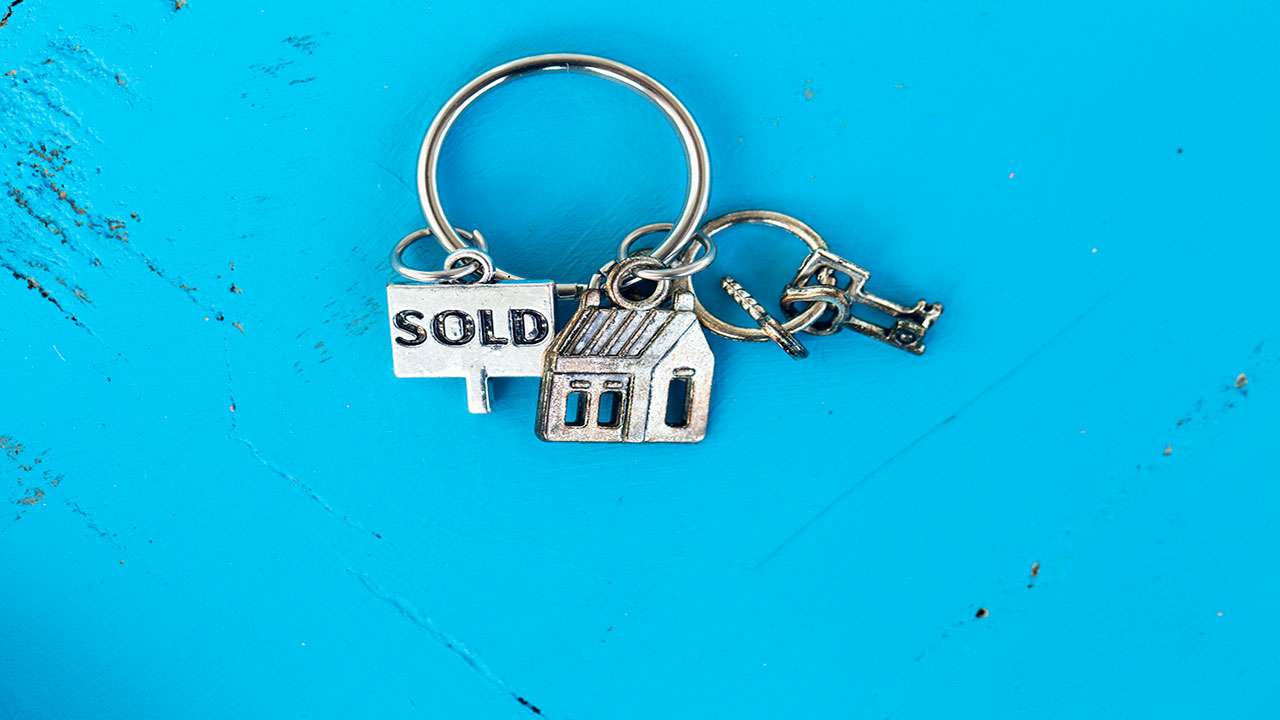
You’ve successfully sold your home and are ready to pack up all your belongings to haul over to your new abode. But while you’ll certainly want to take all of your furniture, artwork, and linens with you, are there certain items that you should be left behind?

Of course, anything that you want to take with you will have to be spelled out in detail in the contract, and the buyer will have to agree to it and sign off on it. Otherwise, there are specific things that you might want to leave behind, and might even be obligated to as per your real estate agreement.

Here are a few things that must be left behind, as well as a few that you probably should out of courtesy to the new owners.

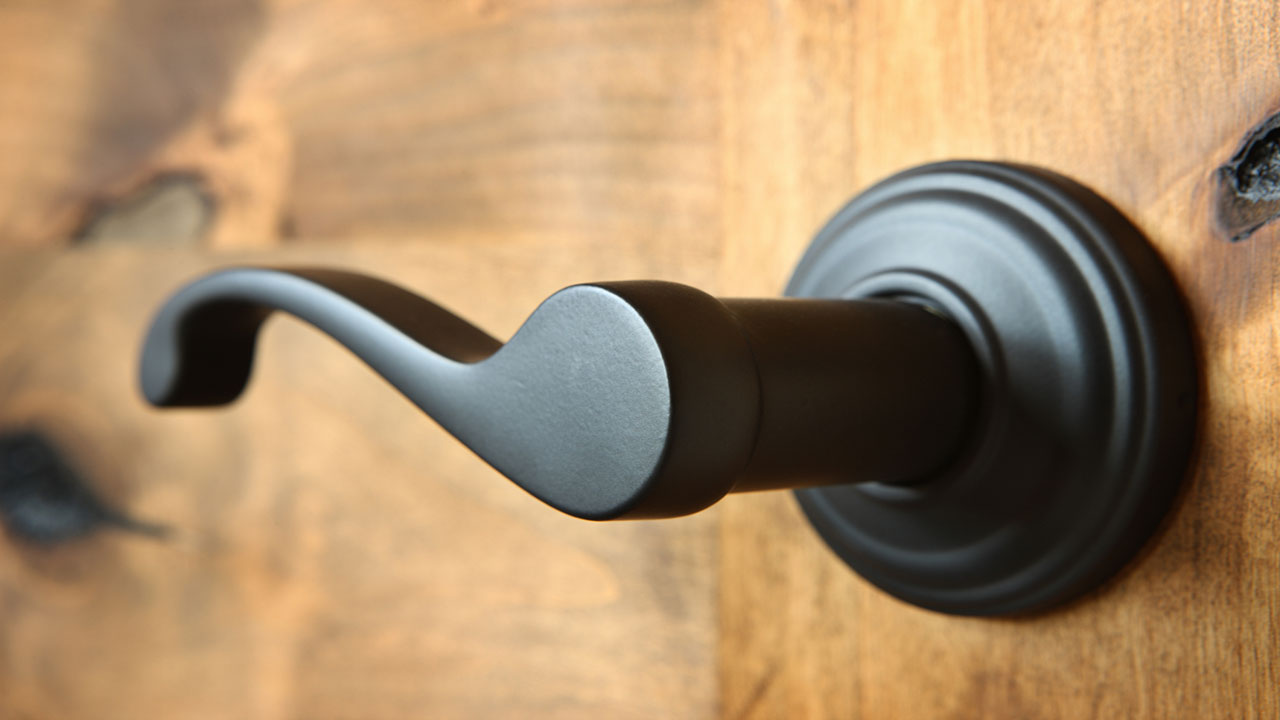
1. Anything Attached to the Home

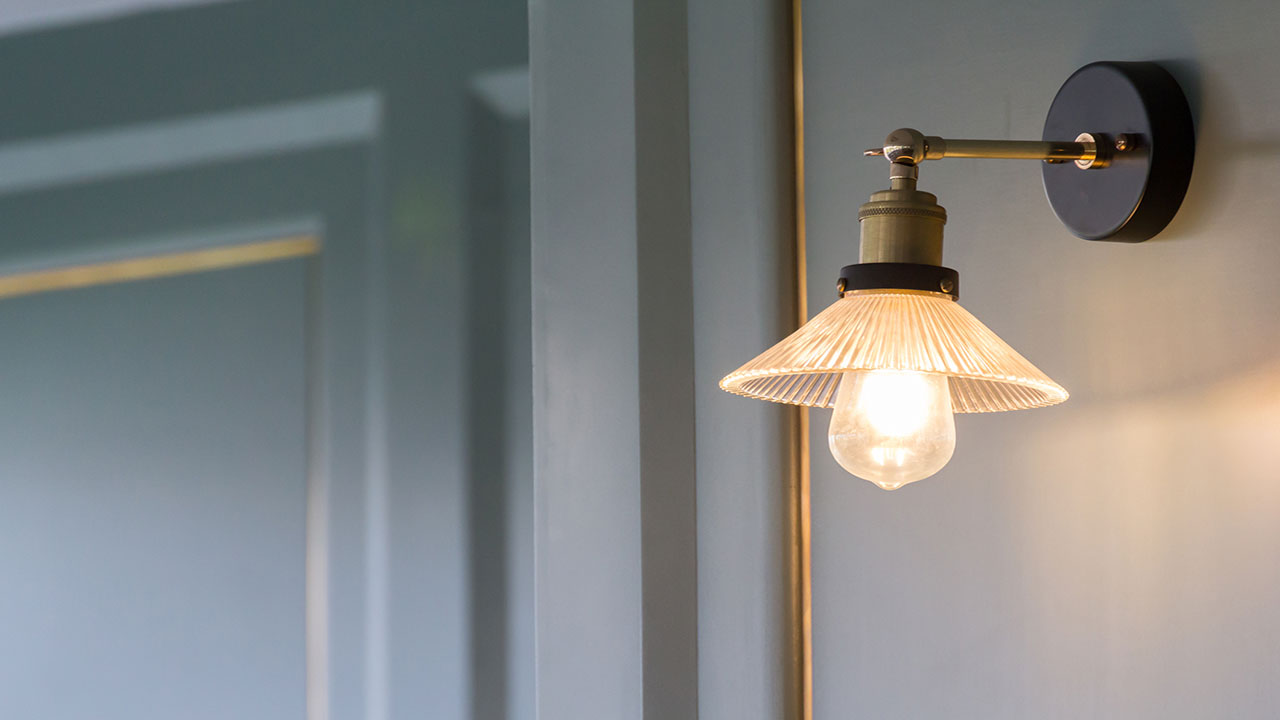
If the item in question is bolted down, it will likely have to stay put. These “fixtures” include anything that is mounted, nailed down, or affixed to the floors, walls, or ceilings. Typically, fixtures include things such as lighting, window drape brackets, and built-in appliances, among others.

But even though the majority of sellers are aware of this rule, it is often the subject of confusion. In fact, the issue of taking versus leaving fixtures often becomes a source of argument among buyers and sellers if these items are not specifically listed in the real estate contract. 

Basically, if a home has been altered to accommodate a specific item, it can be considered a fixture. For example, if holes in the walls were made to mount drapery rods, then this is a fixture.

If you want to take it with you, you’ll have to let the buyer know by specifically referencing it in the contract.

2. Landscaping

You might have a prized plant in your garden, but landscaping typically stays with the home when sellers leave. It would be quite strange for buyers to take their final walk-through of the home before it closes, only to see a big gaping hole where your lilac bush used to be.

Again, unless the contract specifically mentions that you have intentions of taking certain parts of your garden when you move, you can’t remove any landscaping. Landscaping is part of the home, so any part of it should be left behind when you vacate the premises.

3. Outdoor Fixtures

We’ve already discussed the fact that anything bolted to the floor or walls inside the house should stay, and the same thing applies outside. It’s not customary for sellers to dig up their fences or haul out their sheds to take with them on closing day. However, certain items can be cause for confusion among buyers and sellers.

While certain items are obvious, others might not be. For instance, a swing set, mailbox, hot tub, or gazebo that has been anchored to the ground or hooked up to plumbing/electrical wiring is technically considered a fixture and should stay with the house. Otherwise, you’ll need to stipulate the fact that you want to take them with you in the contract.

4. Window Treatments

You don’t necessarily have to leave your drapes behind, though the rods and brackets that they hang from should definitely stay put. That said, it might make sense to leave them since they are made to fit your current home. Sure, window treatments can be considered personal property, but it would be nice to leave them for the buyers.

Besides, you’ll likely have a different layout and theme in your new home. Not only that, but the windows may be a different distance from the ground, which would warrant a completely new set of treatments to accommodate for such a change.

5. Appliances

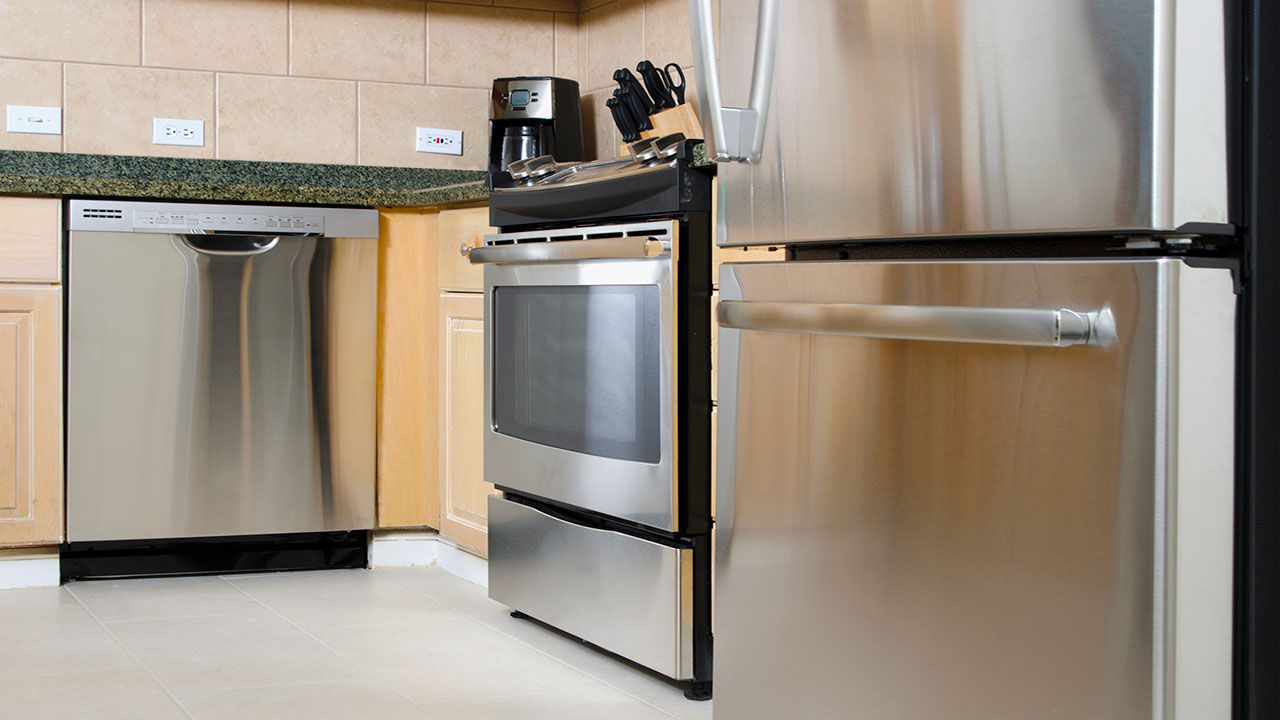
Any built-in appliances are considered fixtures and should be left in the home. Dishwashers and refrigerators that have plumbing attached can also be considered fixtures. Ovens and microwaves can be a grey area because they are not technically bolted down (unless they’re built-ins). That said, appliances are generally left behind with a home unless they are negotiated in the contract.

6. Leftover Paint

It would be nice if you leave behind any leftover cans of paint that can be used by the new owners to patch up any areas throughout the home. It would be almost impossible to find the exact paint match if the additional paint is needed. You’d be doing the new owners a big favor by leaving behind whatever leftover paint you have. Besides, you probably have no use for it anyway. Just be sure to leave it in a dark and cool storage room.

7. Owner’s Manuals

Any appliances – both big and small – typically come with owner’s manuals. Be sure to leave these behind in easy-to-find locations in case the new owners need to do some trouble-shooting.

The Bottom Line

While many items in a home must be left behind when you move, others should stay simply out of courtesy of the new owners. That said, you don’t want to cause any confusion or arguments by removing anything that the buyer believes will be left behind. In order to ensure smooth sailing, make your real estate contract as detailed as possible about what will be taken and what will remain on the premises.

7 Things Buyers Should Know Before Buying in a Planned Community

You’re ready to buy a new home, and you’ve narrowed down your choice to a property within a planned community. Many buyers opt for this unique type of housing option considering all the perks that tend to come with it. These neighborhoods are typically well-maintained, offer a number of nearby amenities like golf courses and parks, and some communities even provide complimentary Wi-Fi throughout.

Certainly, planned communities offer a number of benefits that many homebuyers look for. But before you plunk down your deposit on a home located in this type of setting, there are a few things you should know about planned communities first. Like any other major financial investment, it’s important to know all the ins and outs about what you’re buying before you commit.

1. There Will Be Fees to Pay

Any planned or gated community will require that all owners pay a monthly fee in exchange for maintenance of common areas and amenities that are exclusively offered to owners. But the amount of this fee could make or break your decision to buy into a specific community. Be sure to understand exactly how much these fees are. In addition, try to find out what the possibilities are for these fees to increase in the near future.

It’s important to understand that these fees are typically reflective of the types and number of amenities that are offered within the communities. Generally speaking, communities with fewer features charge a lower homeowner’s association fee, while communities with more to offer tend to come with higher HOA fees.

You should also take the time to verify whether or not certain amenities will require a separate fee. For instance, some communities that are located on golf courses may charge a membership fee on top of the HOA. Just be sure to consider all applicable fees before you make an offer.

2. Amenities May Be Too Little or Too Many For What You Need

As already mentioned, HOA fees generally reflect the number and types of amenities offered to owners. But what exactly are the amenities featured in the community, and will you actually make any use of them?

Since you’re essentially paying for what you get, make sure you’re not paying more than you need to. It might not make much sense to pay for a pool, fitness room, ballroom, or golf course if you never plan on making use of such amenities. The thing is, you’ll be paying for them through your HOA fees whether or not you use them.

On the other hand, maybe you want to have all of these amenities and more, but the community you’re looking at only has a park and a walking trail. Is that going to be enough to suit your lifestyle?

Take a tour around the community and assess the amenities before you submit an offer. You want to know exactly what you’re getting and what you’re paying for.

3. Deed Restrictions May Limit Your Enjoyment

Planned communities come with a set of deed restrictions and for good reason. They’re meant to protect the value of the properties within the community and the neighborhood as a whole. By restricting what owners can and cannot do, properties will have to be maintained in such a way so as to ensure their values are upheld.

But as useful as such restrictions may be, they can also hinder your enjoyment of your property and your freedom to decorate or do with your property as you please. For instance, it’s not uncommon for planned communities to place restrictions on owners in terms of the colors they’re allowed to paint their front doors, the number of type of pets allowed, the type of landscaping permitted, or what sorts of vehicles can be parked on the driveway, to name a few.

You’ll want to know if you can live with the community bylaws before you buy. Not only that, you’ll also want to know what these rules are so you don’t inadvertently break any. Find out exactly what the deed restrictions are in the planned community you’re considering buying into before you finalize your purchasing decision.

4. Further Development May Be in the Works

Planned communities are usually built in phases, allowing homeowners to move into the community as each phase is completed. If you’re buying into the first phase of development, that means additional phases are in the works. That means you’ll be living in the middle of construction for a while until the community has been completed. However, you may be able to get a better deal on a home that still has yet to sell out, making buying in the first phase a potentially ideal situation in terms of money.

In addition, you’ll want to make sure that the promised amenities will actually be built, even though they’re not yet constructed before you move in. Some developers may not finish building all the amenities that were promised until the entire community is near completion.

5. The Reserve Fund Will Need to Be Assessed

Your regular monthly HOA fees are one thing, but then there’s a reserve fund that needs to be assessed. This fund is essentially a large sum of money that’s kept on the back-burner to be used for major expenses, such as replacing a pool or refacing the roads. These types of jobs are not covered under HOA fees and will need to be paid for through the reserve fund.

If this fund is inadequate, all owners – including you – will be on the hook to make up the difference. That’s why it’s important to assess the state of the reserve fund to make sure it’s beefed up enough to account for any major work that will have to be done in the future.

6. There’s a Homeowner’s Association to Deal With

Homeowner’s associations are there to help all homeowners ensure that the property values are upheld and that the community and all amenities within it are maintained appropriately. Any time you have a problem associated with our home and the surrounding community, the HOA will deal with it for you.

But on the other side of the coin is your reliance on the HOA to do everything for you relating to your home or community, even if you’d rather handle things on your own. If you’re not the type to just hand things over to someone else to deal with, having an HOA to answer to may not be your cup of tea.

7. You Risk Losing Your Home if You Fall Behind on HOA Dues

Falling behind on your mortgage payments isn’t the only way to foreclose on your home: failing to pay your HOA fees every month can also leave you fighting to hold onto your property. This is yet another big reason why you’ll want to make sure the fees associated with a home in a planned community fit well within your budget.

The Bottom Line

Planned communities are definitely very attractive housing options for those on the prowl for a new home. All your amenities are within walking distance and are exclusively for you and your neighbors to use.

These areas are generally well-maintained and ensure homeowners don’t bring down the value of the neighborhood due to lack of maintenance or poor choice in decor. But the restrictions and HOA fees can be enough of a deterrent to opt for freehold properties that don’t come with such drawbacks. Speak with your real estate agent in depth to help you determine whether or not living in a planned community is right for you.

How to Handle an Estate Sale After a Parent Dies

It’s never easy to lose a parent, but having to deal with the sale of their family home and the contents within it can make things even harder. And when there are other siblings involved or other interested parties in the property, the process can be a little more complicated.

An estate sale can be considered to be the sale of all contents of a home, much like a garage sale. But an estate sale can also involve the sale of a family home after the owner passes away. While selling the home of a relative who has recently passed is not entirely unlike selling any other home, there are a few more considerations that will need to be made. Being prepared for the process and any potential obstacles that may be faced can help ensure a more streamlined process.

Who is Legally Allowed to Sell the Home?

The first thing that will need to be addressed when selling the home of a deceased family member is determining who is allowed to deal with the sale. If the owner left a will behind that clearly states the name of the person authorized to handle this transaction, that person is known as the Executor and is legally allowed to sell the home. Otherwise, if the home is in a trust, then the named Trustee is the authorized individual.

However, there may be times when there is no will or trust left behind. In this case, someone must step forward and take responsibility. In this case, state law will provide a list of eligible people to take on this responsibility. In most cases, the surviving spouse will take over the home. Or, in the case of a single parent who has died, adult children will usually take priority, in which case each child would be granted equal ownership of the home.  There is no court order required to transfer the property to them in this case. 

If an executor is identified, it’s important to determine whether or not that person has the authority to sell the property. Specific instructions will ideally be stipulated in the will about selling the home. If the executor was not authorized to sell the real estate, then the heirs will have the authority to sell the property without required consent from the executor.

During a probate situation, the executor will usually take on the role of selling the property and dividing up the profits among the beneficiaries named in the will. Any property under probate will need to be appraised by the probate referee, and the value will typically be used as the listing price. Once the appraisal has been done, all beneficiaries of the will – or any other interested individuals or parties – are to be notified of the sale of the home.

If any of the beneficiaries do not consent to this sale, they have the option to buy all shares of the property. If several people want to buy out shares of the home, the court will need to get involved, which will have the ultimate power to decide if the sale should go through or not. If there are no objections, the executor can list the home and sell it with an agent.

Make Sure Bills Are Up-To-Date

Until the home has been sold, all bills will need to be kept up with. That means the mortgage, cable, telephone, and utility bills will all still have to be paid until the transaction is complete.

You can steer clear of any potential problems by ensuring that all pertinent bills are paid on time and in full until they’re no longer required. That said, all bills should be paid through the estate rather than one person taking it upon themselves to pay the bills personally.

Gather Up All Important Documents

Any financial documents related to the home will be required in order to complete an estate sale. These are necessary in order for any proceeds of the sale to be distributed to heirs appropriately. If certain documents are missing or can’t be obtained, the situation can become a little more complex.

The following are the documents that may be required to complete the transaction:

  • Will
  • Receipts from creditors
  • Investment paperwork
  • Life insurance documents
  • Homeowner’s insurance policy
  • Bank account information

Shred All Personal Documents

Any personal documentation that includes your deceased loved one’s Social Security Number and anything else that identifies that person should be destroyed. Given the rise in identity theft, it’s important to ensure that all information like this is kept out of the hands of identity thieves. By shredding all documents with this information on them, identity theft will be a lot more difficult.

Change the Locks

When word gets out that a home is vacant as a result of the death of the owner, the property will be a target of those with nefarious intentions. In addition to friends and relatives, other people may have gotten a hold of the keys over the years, including landscapers, contractors, or anyone else who may have done some work in the home.

In this case, you will want to boost the security of the home, and one way to do that is by changing the locks and only giving the new keys to the real estate agent who is handling the sale for you.

Call the Postal Office

Let the postal office know that any mail with your parent’s name on it should be forwarded to you. This will help you maintain control over any trickling mail that may still come in over the next few weeks or months, as well as minimize any pile-up in the mailbox.

Stage the Home Professionally

Unless your parent’s home was stylishly furnished or decorated, you may want to remove all possessions and have it staged by a professional home stager. But while you’re clearing out all of your parent’s possessions, make sure to include any other individual that may be privy to such items, including your siblings.

To make things easier, consider holding an estate sale to get rid of all remaining possessions that you or your siblings don’t want to keep.

Disclose Information About the Owner’s Death if it Occurred in the Home

If your parent passed away inside the home in question, this information will need to be disclosed to interested buyers. According to California law, a death on a property needs to be disclosed if it happened within three years of an offer coming in. But if the death happened outside of that three-year mark, you won’t be obligated to make such a disclosure.

The Bottom Line

Selling a parent’s home after they’ve passed on is never easy. The emotions involved can make this experience a challenging one. But selling the home and all things in it is usually necessary for all heirs involved. Be sure to work with a seasoned real estate agent and consider consulting with a real estate lawyer to make sure everything is handled the way it should be.

What Sellers Should Know About Listing Agreements

If you’re planning to sell your home in the near future, you’ve got a few tasks on your plate, and one of the more important ones is teaming up with a real estate professional. Having an agent by your side guiding you throughout the listing and selling process is extremely helpful and will significantly improve the odds of a successful transaction.

This relationship is a professional one, and the services that your agent provides you with will need to be documented and signed by both you and your agent. Such documentation is called a Listing Agreement, and it outlines all the duties that your agent is responsible for providing you with, as well as your obligations in the transaction.

But this is a contract, which means it is legally binding after you sign it. As with any other type of contract, it’s important to know exactly what you are signing before you get yourself into any type of legal obligations.

Here are a few things you should know about Listing Agreements before you sign one.

They Expire

Listing Agreements are not meant to last forever. You and your agent are not supposed to be bound to the agreement for an infinite amount of time, which is why there will typically be a term specified in the contract that details when the contract takes effect and the date that it expires. During the term, the contract is in effect and all parties are bound by its terms.

The length of the term depends on a few things, including the temperature of the market. If the market is relatively slow, a longer term will give your agent more time to market your home before finding a willing buyer. On the other hand, a hot market will likely make it easier for your agent to find a buyer, in which case a shorter term may suffice.

The Commission Will Be Detailed

Real estate commissions are typically up for negotiation, though the average rate tends to stick around the 5% to 6% mark of the sale price of the property. That amount is then usually split between your listing agent and the buyer’s agent, but not necessarily evenly. Many times buyer agents get a larger chunk of the cut, though that is left up to the agents and their brokerages to decide.

In any case, the commission rate that is owed to your agent will be outlined in the contract so there are no surprises when all is said and done. The time that the commission is due should also be specified, but it’s usually not payable until the deal closes.

The Use of MLS Will Be Stipulated

The overwhelming majority of listings are included in the Multiple Listing Service (MLS) to be broadcast to all participating agents in the local area. The MLS is a powerful marketing platform for your real estate agent because it allows as many eyes as possible to see your home. Obviously, the more people see your listing, the higher the odds that you will be able to find a qualified buyer.

Unless you have specific reasons not to list on the MLS, such as privacy concerns, your Listing Agreement will specify that your listing will be posted on the MLS.

Your Agent’s Duty to You Will Be Outlined

Your real estate agent owes you a fiduciary duty to uphold your best interests throughout the selling process as your representative. Such a duty will be outlined in the contract and will need to be upheld throughout the entire duration of the contract’s term.

The agreement will usually list the activities that your agent is required and authorized to carry out on your behalf, such as informing you about all offers, putting up a For Sale sign, posting your listing on the MLS, and so forth.

Your Duties Will Also Be Outlined

Your agent certainly has a duty to fulfill when marketing and selling your home, but you have some responsibilities as well, and the Listing Agreement will outline them. One of the big ones involves your obligation to pay your agent the commission earned and due after your agent finds you a buyer within the term of the contract.

Many Listing Agreements will include a safety clause that protects the agent should a seller attempt to wait until the listing expires before accepting an offer from a buyer so they can avoid paying commissions.

How Disputes Are to Be Handled Will Be Detailed

Unfortunately, disputes can occur between sellers and their real estate agents. If this should happen between you and your agent, your contract will outline exactly how such disputes should be handled and carried out.

The Bottom Line

Listing Agreements are required before a real estate transaction can be completed, which is why they are often signed before an agent actually starts listing and marketing homes for sellers. Your real estate agent will go over the Listing Agreement in great detail before you sign it in order to help you understand it.

If at any point something does not make sense, do not hesitate to interrupt your agent for a more in-depth explanation. Remember, this is a contract that makes you legally bound to its terms, so you want to be sure that you know exactly what you’re signing.

9 Landscaping Ideas For Small Outdoor Spaces

Not every homeowner is blessed with oodles of outdoor space outside their home, but even the smallest yards can be just enough to enjoy what Mother Nature has to offer. That said, landscaping and decorating small outdoor spaces can be a bit of a challenge, especially when it comes to creating a functional, stylish space.

If your yard is short of square footage consider some of the following landscaping ideas to make the most of what you have.

1. Install a Pergola

Pergolas and arbors are wonderful ways to add some pizzazz to your backyard and offer vertical space to use to hang plants and flowers, build a vertical garden, or simply serve as a decorative and artistic statement piece. They can also offer your outdoor space some much-needed shade from the sizzling sun and provide small gardens with a grandiose feel.

2. Create Vertical Walls

Speaking of vertical space, don’t forget to use as much of it as possible, especially in smaller yards. Adding a vertical wall of plants and herbs or planting vines that extend up the walls can make good use of your vertical space while also creating a very unique yard. And if you’ve got anything that could use a little camouflaging or dressing up, such as a drab shed or bland wall, taking the vertical approach can help to dramatically improve such surfaces.

3. Give Your Plants a Boost

Consider raising up your plants with a short retaining wall or large hardscape stones to help draw the eye up and create a distraction from the compactness of your yard.

4. Invest in Tall, Slender Plants and Shrubs

In order to avoid taking up too much space with your greenery, consider plants, shrubs, and trees that grow quite tall and don’t spread out horizontally as they grow. Columnar trees work best for these scenarios.

5. Add Dramatic and Oversized Tropical Plants

Usually, you would need to be careful with using pieces that are too large for smaller spaces, but when it comes to tropical plants and small yards, you can’t go wrong. Large, vibrant tropical plants with huge foliage can provide a lush, lavish feel to your yard and modify the perceived scale of the area to help make it seem bigger.

6. Create Separate Zones

It might sound like the complete opposite of what you should be doing with a small yard, but breaking it up into specific work zones can actually make the area feel bigger than it actually is. You might want to create different nooks for relaxing, reading, dining, or playing, depending on how you typically use your backyard space. Different groupings of furniture and dividing pathways can help visually expand the space while making it feel cozier and more comfortable.

7. Mix Things Up For Visual Interest

Incorporating a myriad of elements to your backyard can also make it appear larger. Don’t be afraid to implement a mixture of grass, hedges, planters, hardscape, and walkways to add some visual interest, which should help to make you and your guests forget about how small the yard may be.

8. Make Effective Use of Color

Using bold colors at the forefront of the space where they are more readily seen and noticed will grab your attention quickly, while the remainder of the yard past this colorful facade will make it feel like it’s fading in the distance, which will elongate the space. You can also use long, linear lines to create the same effect that can trick the eye into thinking that the yard is a lot larger than it truly is. By creating a focal point at the end of these lines, you can create the illusion of a longer yard.

9. Cut Down on Clutter

If you’ve got a lot of dead leaves, debris, or any other type of clutter, get rid of it. The more clutter in a space, the more confined it will appear. The same rule typically applies to indoor spaces as well, so take this same principle and apply it to the outdoors to visually expand your yard.

The Bottom Line

An outdoor space that lacks square footage doesn’t have to be short on style and functionality too. There are plenty of tactics you can employ to visually expand the space to make it look bigger than it really is while creating a yard that’s stylish, comfortable, and easy to hang out in.

SALE PENDING: 4194 Colgate Way, Livermore, CA 94550

$999,000

4 beds 3 baths 2,216 SqFt

Beautifully remodeled home with a gorgeous back yard!! Open and flowing single story floor plan with very tasteful and quality appointments. Wonderful granite kitchen with stainless steel appliances and cabinetry done in a rich, cherry finish. Lavish baths enhance the beauty of this special home. The large, picturesque back yard is like a vacation paradise for those special times to relax and enjoy. Lovely grounds with a beautiful, sparkling pool, lush lawn, deck and patios. Stroll up a rise to the gazebo with views as well! Be sure not to miss this smashing home!

VIEW FULL LISTING

7 Signs There’s a Problem With Your Home’s Crawl Space

Aside from storing a bunch of your belongings, you probably don’t give your crawl space much thought. But while you might not actually spend any time down there, your crawl space is still an important part of your home that requires some level of attention. Just like any other part of your home, issues can arise in the crawl space which might warrant some repair. But the only way you’re going to know there’s a problem is if you pay attention to the warning signs.

Here are some red flags that there may be a problem in your home’s crawl space.

1. Foul Odors

Any time you detect a bad smell anywhere in the home, this warrants further investigation. More specifically, crawl spaces that have a foul “musty” odor might have some sort of moisture problem that you might need to look deeper into.

The smell could also be a result of something decaying down there, whether it’s dead rodents or something else rotting. While this might not sound very pleasant, any bad smells coming from your crawl space should be looked into further. It probably won’t go away on its own, so the sooner you look into it, the better.

2. Cold Floors

If certain floors in your home are colder than others, it may be the crawl space to blame. Warm air rises in a home, which explains why lower levels are typically cooler than upper levels. The warm air that rises is replaced by air being pulled in at the crawl space.

If this particular area is not properly insulated or ventilated, the air that gets pulled in might be cooler than it should be. This issue is more common in northern parts of the state where temperatures tend to dip and isn’t commonly seen in Southern California.

3. Standing Water

Any amount of water that is sitting on top of the floor in the crawl space should absolutely be dealt with right away. All that water – no matter how little – can cause mold, not to mention cause damage to the floor and walls as well as any belongings you might have stored down there.

Many times, standing water is a result of leaky pipes or poor drainage, which will need to be addressed by a professional. If the issue isn’t rectified, you could be dealing with more cases of standing water in the basement, which will just cause you more headaches, time, and money to deal with.

4. Sagging Floors

If you notice that the floors in the crawl space are sagging, there may be an issue with the floor joists underneath. Whether it’s because the load on top is just too much for the joists or they are old and weak, you might need to have the joists repaired in order to avoid any future issues.

In addition, you might even notice some sloping of the floors in the crawl space. If that’s the case, there is likely an issue with the foundation of your home, in which case you will need the help of a structural engineer or other professional to prevent the issue from getting any worse.

5. High Humidity

Have you noticed your home’s interior is a little more humid than normal, despite running your A/C? If so, go down to your crawl space to see what the humidity levels are like down there as well. Most likely, the humidity will be even worse, which could be a sign that there is a high level of moisture building up.

This can lead to further issues, including condensation on your windows and pipes, peeling wallpaper, musty smells, and even mold and mildew. Any abnormally high levels of humidity in the crawl space and the rest of your home will need to be addressed.

6. Higher-Than-Usual Energy Bills

Utility bills are already expensive enough as it is, so when you suddenly notice them spike, you know there’s a problem somewhere in the home. Many times, a jump in energy bills is the result of leaks in windows and doors that allow cooled or heated indoor air to escape, making your HVAC system work harder than it has to and costing you more money in the meantime.

When it comes to your crawl space, the air might not be circulating properly down there, or there may be a high humidity issue that is making your HVAC run into overdrive to deal with the problem. Or, the insulation in the crawl space may be inadequate, which could also be contributing to an inefficient HVAC system. Regardless, the fact that your HVAC system is working harder will inevitably translate into higher energy bills.

7. Mold

If you actually see physical mold anywhere in your crawl space, you’ve got a problem. Mold should never be left alone to fester and grow, as it can cause a serious health hazard in the home when left for all occupants to breathe in over the long haul.

Don’t try to get rid of the mold yourself if you happen to notice it in your home, as this can just end up making things a lot worse. Instead, you will need to contact the professionals to identify the exact type of mold that’s present and eliminate it safely and effectively.

The Bottom Line

Don’t ignore your crawl space, even if you hardly ever go down there. Paying attention to issues in this seemingly unimportant area can have a direct effect on the rest of your home, so you’ll want to address any issues as soon as you notice them. The sooner you can deal with any problems, the lower the odds of them becoming a major issue.